I've got to give Kami over at Get Your Mess On! total credit for inspiring this one. If you haven't already, get on over there and check out her blog. She's embraced the tinkering/maker movement robustly and has a lot to show for it.
We were planning to spend a couple days this week horsing around with pulleys, but when I saw Kami's post about building her own rope making machine, I thought it would be awfully cool to start by making our own rope, throw it over a pulley, and see if we could lift something heavy with it.
But to be honest, even after watching video of Kami making rope with her simple hand-held machine and then clicking over to the more detailed tutorial video to which she linked, I was still a little perplexed about how it worked. I started by following her instructions as best I can, making one like hers, and utterly failing to make a rope, but in that failure I learned an important lesson: how it is supposed to work. And I suppose the second thing I "learned" is that this particular style of rope making machine might be a little tricky for my younger preschoolers, so I went into research mode, watched some people in Indonesia making rope, read about a farmer who made one because he hated wasting all his bailing twine scraps, found a dozen sets of instructions, and finally got my mind around what I thought would be the best method for making rope at Woodland Park. (These are the instructions upon which I finally based my rope making machine.)
I'll admit, this one takes a little woodworking skill.

This is the "front" of the machine. I made the hooks from
a wire clothes hanger.

This is the back. One of the things I learned from my first
failure is that all three wire hooks need to be bent exactly
the same way. I did this by cutting 3 pieces of wire, putting
them side by side in a vise and bending them all together,
twice, resulting 3 identical right-angle "Z" shapes. I then
used a needle nosed plier to bend the hooks on the front
side and crimp the backs so they don't slip back
through the holes in the triangle crank.
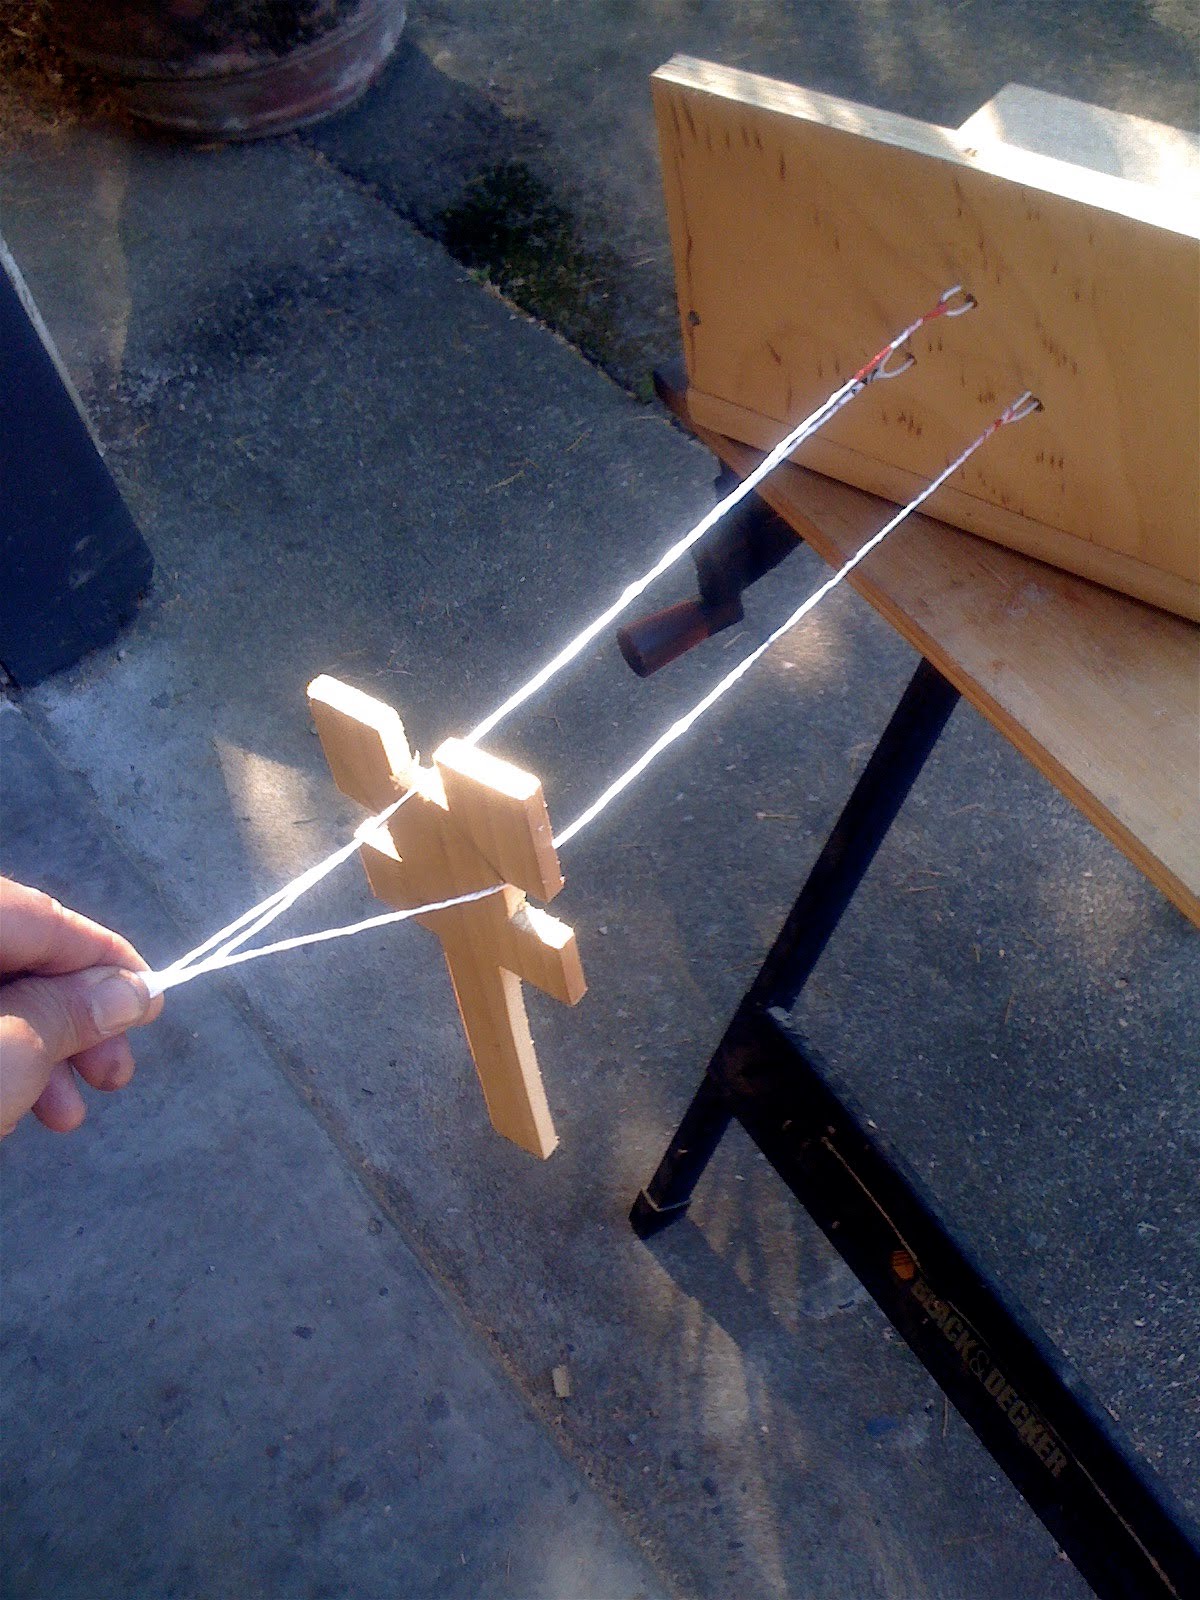
Another thing I learned from my first failed attempt was the importance of using a "spacer." I used my jig saw to cut this one, although you could use your fingers or just about anything that can hold the 3 strands apart.

I couldn't find any twine around the house and my big ball is already at school, so I decided that my first attempt would have to be made from a plastic bag. I cut three "loops" from a grocery bag and hung them from the hooks.


I was pleased to find that the spacer tended to stay in place
without my holding it. If I was making anything longer than
this, it would be a 2-person job, but this way I could
still turn the crank with my free hand (when I wasn't taking
pictures!)
As you turn the crank, the individual strands twist, becoming
thinner and thinner. There is a balance between keeping too
much tension in the strands and not enough, but before long
the 3 strands start forming rope behind the spacer.


I just kept cranking and inching the spacer toward the
machine until I had a small rope (okay, more like a cord).
I tied a knot in the end I was holding, removed the spacer,
then carefully removed the 3 ends from their hooks, making
sure to not let them unwind. Tied a knot in that end and . . .

Voila!

Rope!
This turned out to be just the right length for a kid-sized bracelet. If that's all we make at school this week, I'll be happy with that.


8 comments:
That is so neat! I don't know if I could do that, I'm not exactly what you would call . . . handy. But super duper neat-o!
Too bad you're not closer. I'd definitely be sending my grand-kids to your preschool. They'd have so much fun!
Very cool! This is on our list too after reading about kami's adventures into rope making. I think we'll start off using the plastic gears toy contraption given that we have those handy, but Paul's working on a homemade CNC router, so it may be possible in the future to mill out some wooden gears and pieces to make one of those nice hand crank devices. Oh how I wish you and Kami were my next door neighbours!
I am fascinated by this. Firstly my boys love rope and everything to do with it. Secondly, the eco potential of turning plastic bags, strips of old material into something useful is amazing.
That is a lot of work! I thought rope just grew on rope trees.
Hi Teacher Tom. This is my first visit. Great to read about your rope-making adventures. Very ambitious, I'm impressed. I'm off to read your post about pulleys. I'm determined to attach one to our cubby house. I'll be sure to link up to your post should I succeed and decide to write about it.
Awesomeness! I love how you used my kind of bare-bones, not-very-explanatory post as a provocation and taking-off point for this sturdy, useful masterpiece. Now I can use your post as a provocation to build a second, bigger and better rope-making machine of my own. OR I'm considering making the tinkerers in my August camp build me one and use the rope we make to build a rope bridge 6 feet off the ground from our tree fort to the back fence.... we shall see!
Warm Greetings!
Today, I visit your website and after reading your blog i realize that it is very informative. I'm highly impressed to see the comprehensive resources being offered by your site.
Thanks and Regards
Rope Making Machine
I love what you are doing, I am going to try and get my family together, and help me build one, for me!
Post a Comment